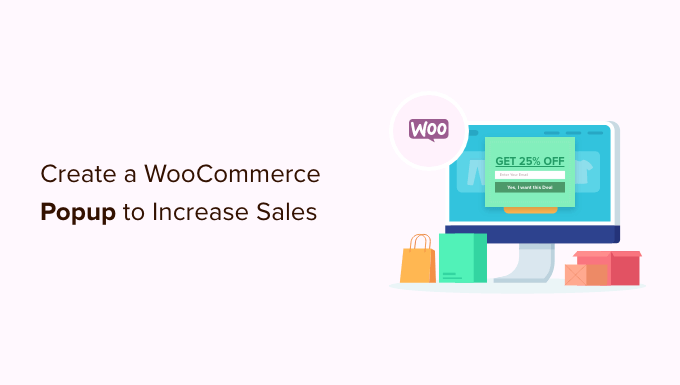
Are you looking to improve sales on your WooCommerce store? One effective way is by creating a popup. A popup can grab your customers’ attention. It can show special offers, discounts, or important information. This guide will show you how to create a WooCommerce popup to increase sales.
Why Use Popups?
Popups can help your store in many ways:
- Get more email subscribers.
- Show special discounts.
- Promote new products.
- Reduce cart abandonment.
When used right, popups can increase sales and keep customers coming back.
Step-by-Step Guide to Create a WooCommerce Popup
Creating a WooCommerce popup is easy. Follow these steps:
Step 1: Choose A Popup Plugin
First, you need a plugin to create popups. There are many plugins available. Some popular ones are:
- OptinMonster
- Popup Maker
- Ninja Popups
Choose a plugin that fits your needs and budget.
Step 2: Install And Activate The Plugin
Once you choose a plugin, install and activate it. Here is how you can do it:
- Go to your WordPress dashboard.
- Click on “Plugins” and then “Add New”.
- Search for the plugin you chose.
- Click “Install Now” and then “Activate”.
Step 3: Create A New Popup
After activating the plugin, you can create a new popup:
- Go to the plugin’s settings in your dashboard.
- Click on “Add New Popup” or a similar option.
- Choose a template or start from scratch.
Step 4: Customize Your Popup
Now, it’s time to customize your popup. Here are some tips:
- Headline: Make it catchy and clear.
- Message: Keep it short and to the point.
- Images: Use high-quality images to attract attention.
- Call to Action: Use clear buttons like “Shop Now” or “Get Discount”.
Make sure your popup matches your store’s design.
Step 5: Set Display Rules
You need to decide when and where the popup will show. Some options are:
- On Page Load: Show the popup as soon as the page loads.
- On Exit Intent: Show the popup when a user is about to leave.
- After Scrolling: Show the popup after the user scrolls a certain percentage.
- On Click: Show the popup when a user clicks a button or link.
Choose the option that works best for your goal.
Step 6: Test Your Popup
Before making your popup live, test it. Check if everything looks good and works well. Make sure it does not disturb the user experience. You can test by:
- Previewing the popup in your plugin settings.
- Visiting your store and triggering the popup.
- Asking friends or family to check it.
Step 7: Publish Your Popup
Once everything looks good, publish your popup. Go back to your plugin settings and click on “Publish” or a similar option. Your popup is now live on your store.

Credit: www.youtube.com
Tips for Effective Popups
Here are some tips to make your popups more effective:
1. Keep It Simple
Don’t overload your popup with too much information. Keep the message short and clear.
2. Use Clear Calls To Action
Use buttons with clear text like “Shop Now”, “Get Discount”, or “Subscribe”. Make it easy for users to take action.
3. Offer Value
Give users a reason to engage with the popup. Offer discounts, free shipping, or exclusive deals.
4. Test Different Designs
Try different designs and messages to see what works best. Use A/B testing to compare results.
5. Don’t Overuse Popups
Too many popups can annoy users. Use them wisely and don’t show them too often.

Credit: mailoptin.io
Frequently Asked Questions
What Is A Woocommerce Popup?
A Woocommerce popup is a window that appears on your online store.
Why Use Woocommerce Popups To Increase Sales?
Popups grab attention and can promote special offers or discounts.
How Do I Create A Woocommerce Popup?
Use a plugin like OptinMonster or Popup Maker.
Are Woocommerce Popups Effective?
Yes, they can increase conversions and sales by promoting offers.
Conclusion
Creating a WooCommerce popup can increase your sales. Follow the steps in this guide to create your own popup. Remember to keep it simple, use clear calls to action, and offer value to your customers. Test different designs and don’t overuse popups. With these tips, you can create effective popups that help your store grow.


